Hi Folks,

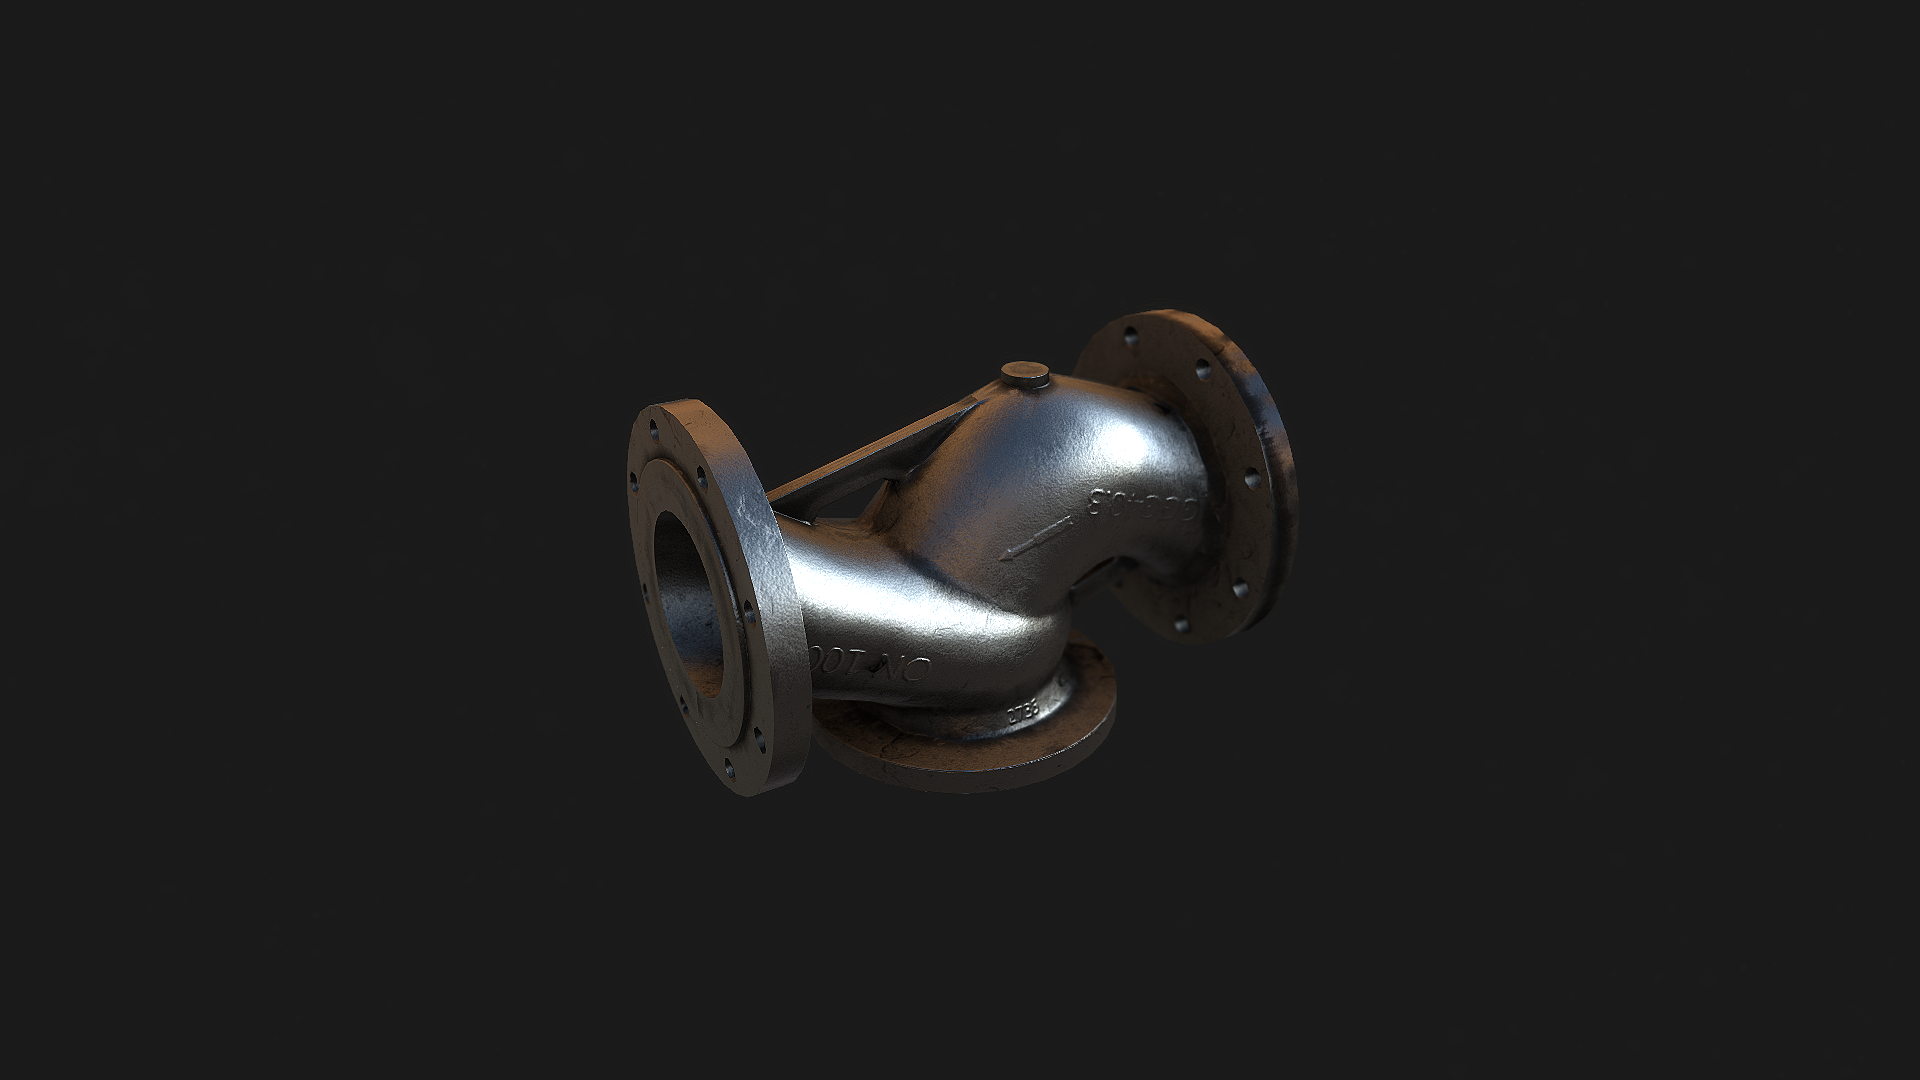
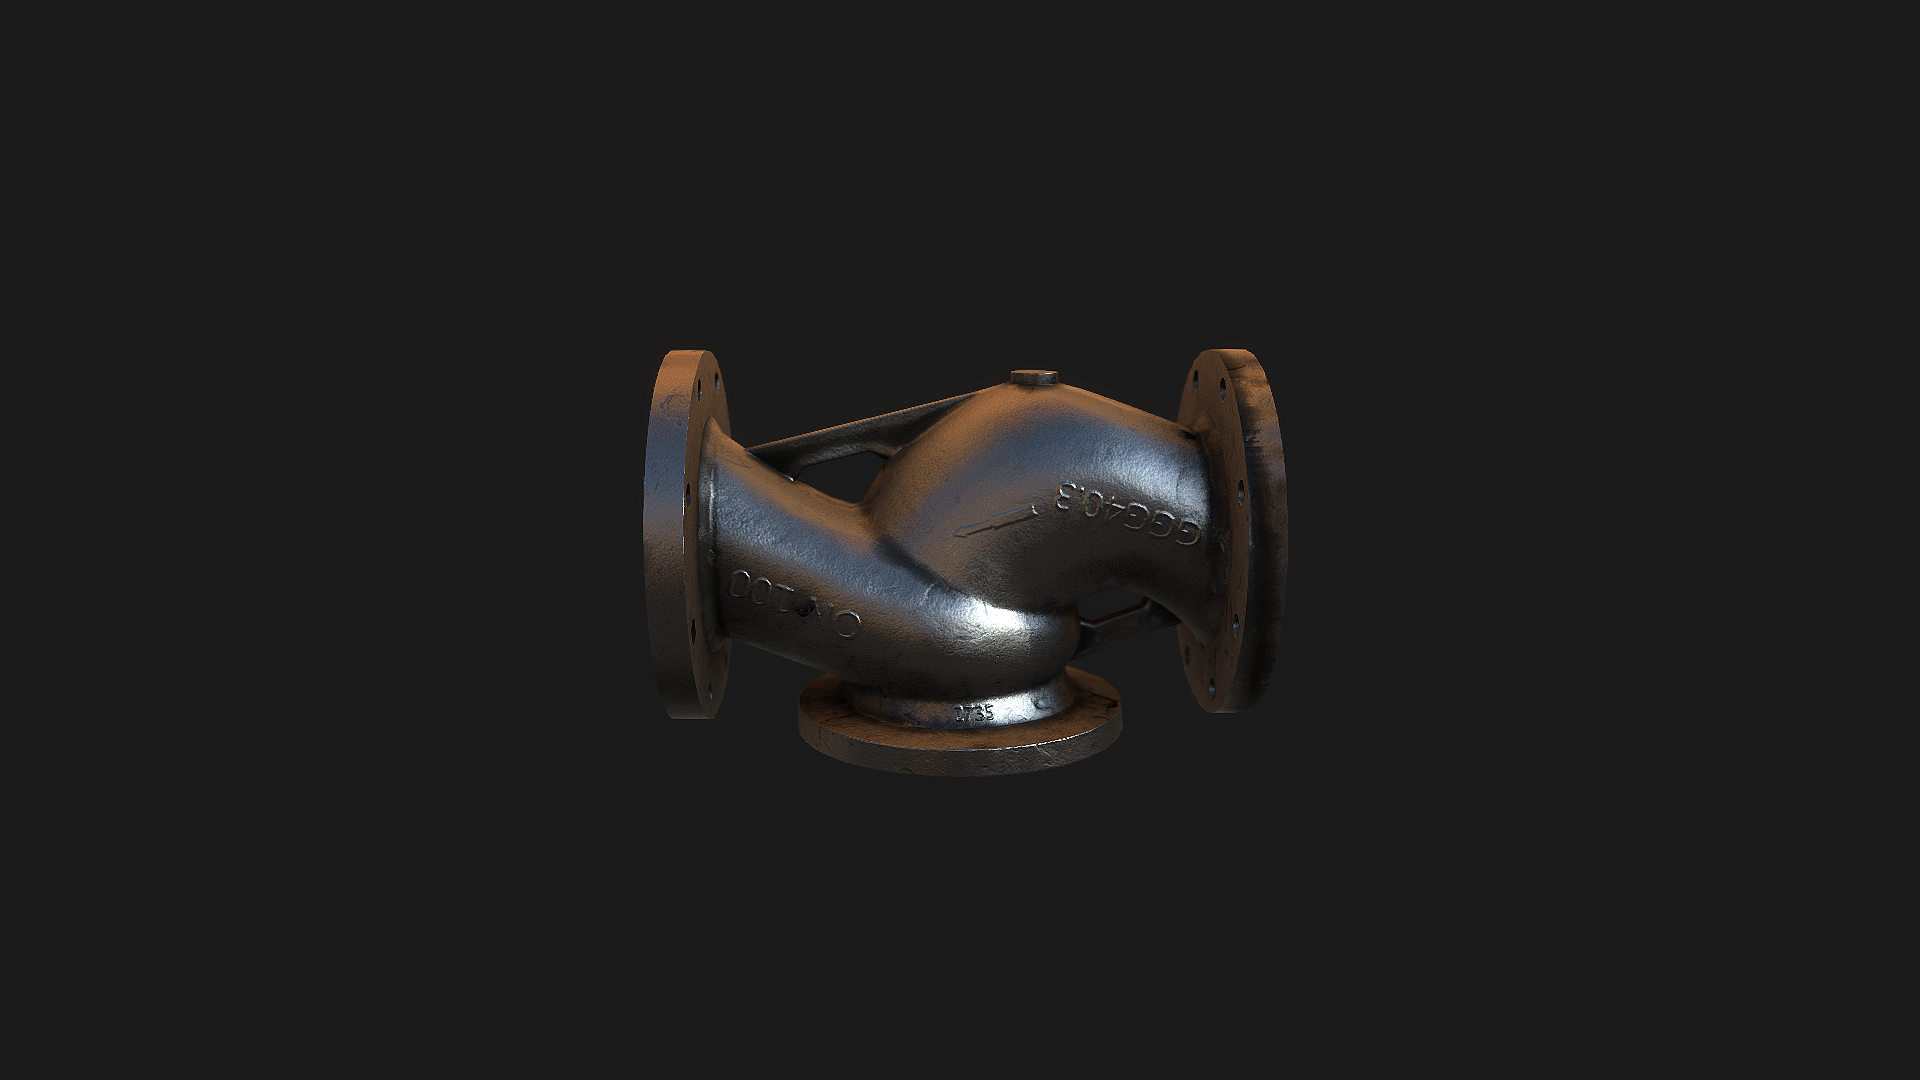
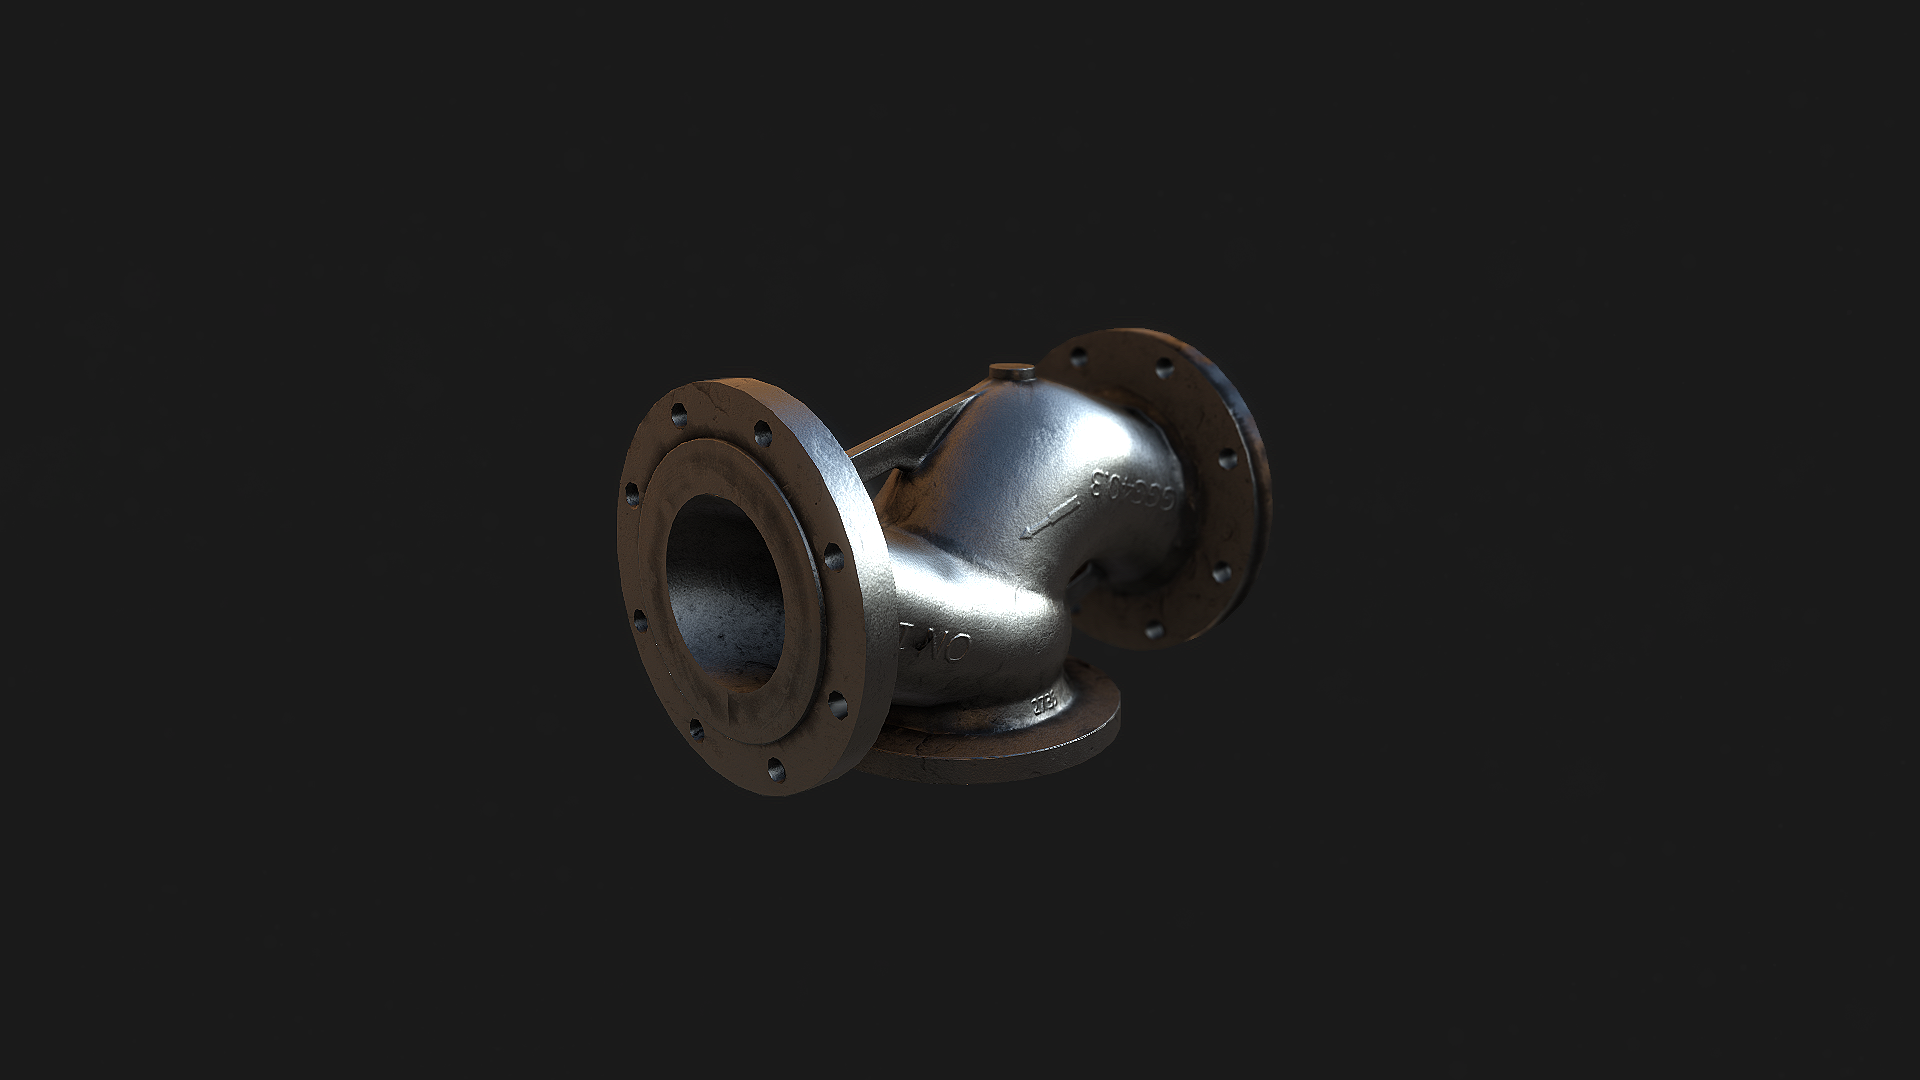
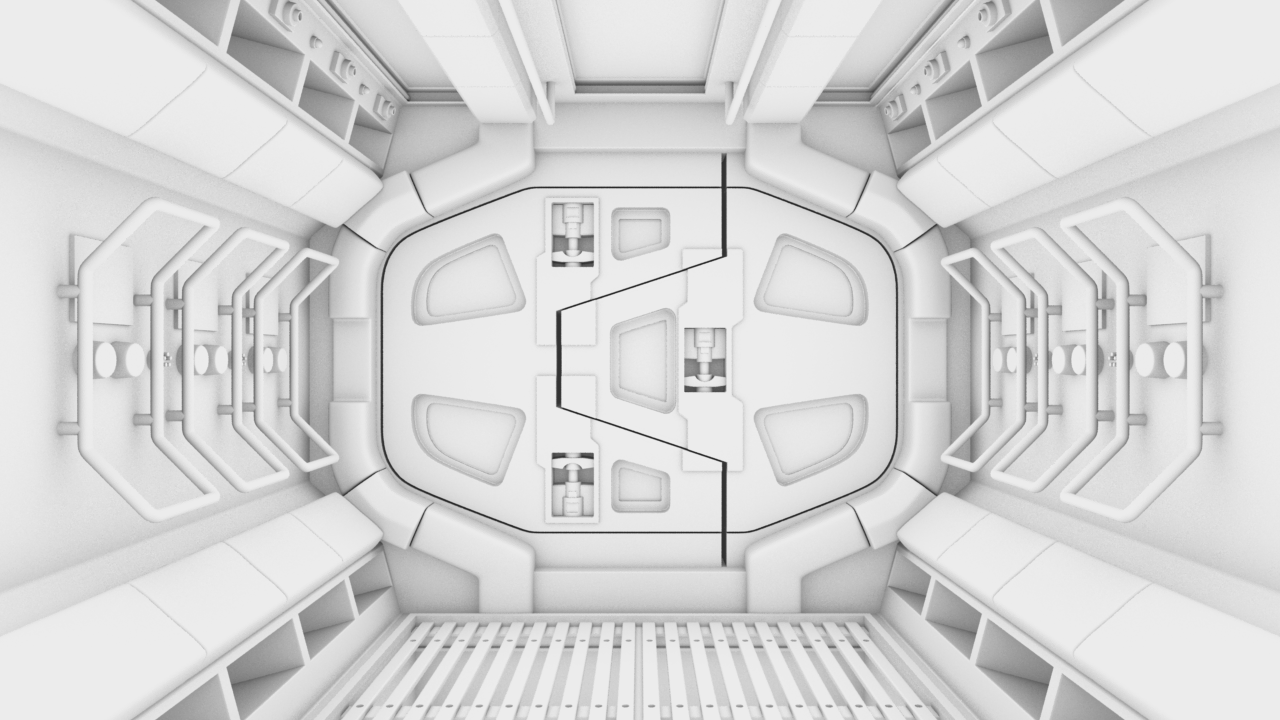
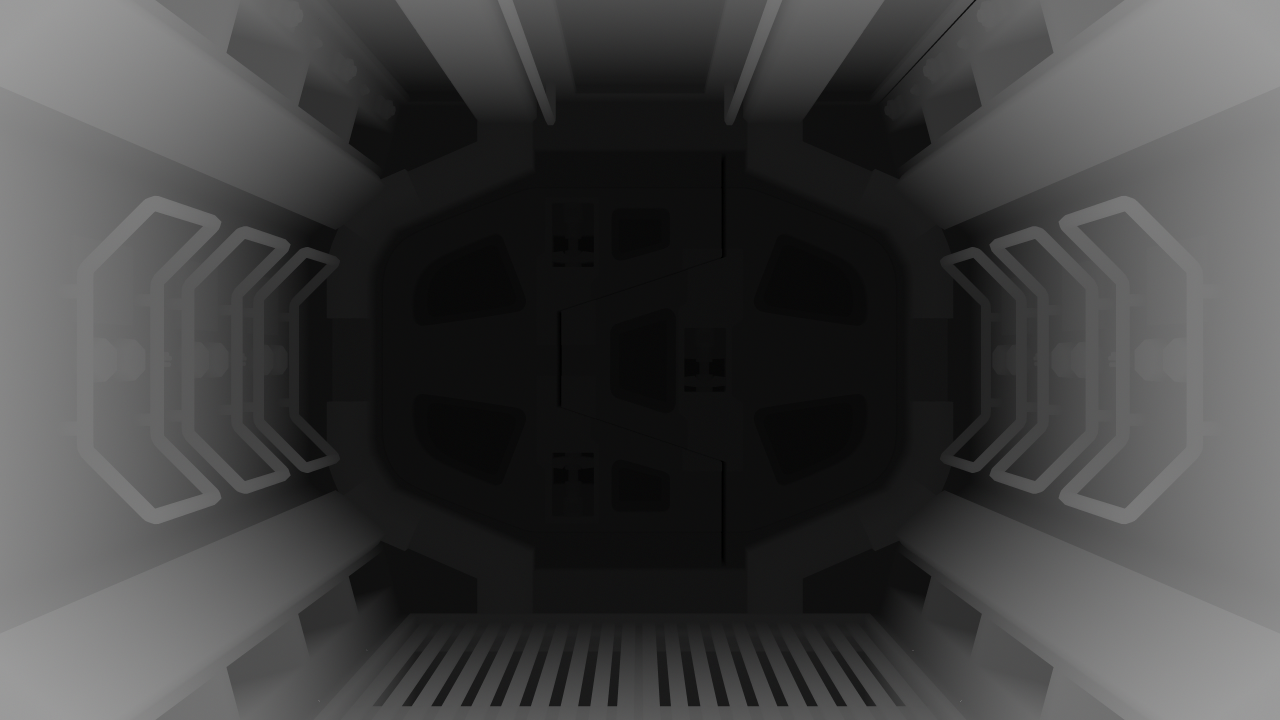
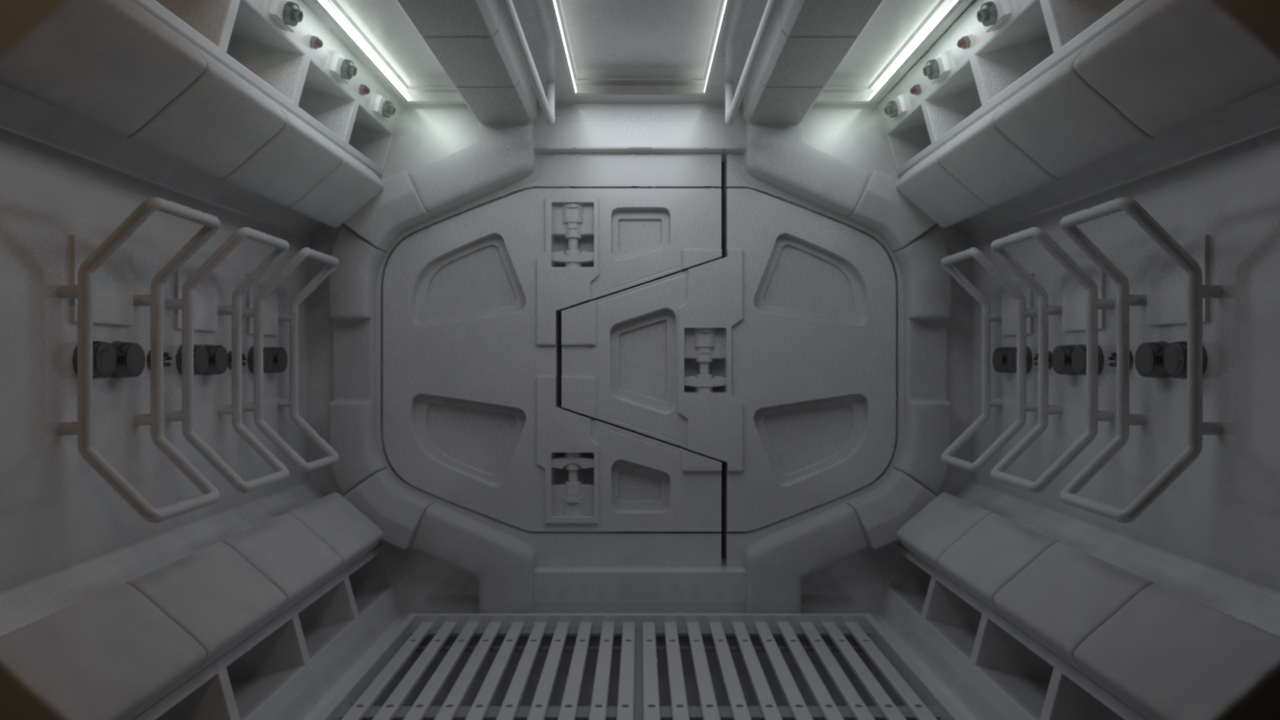
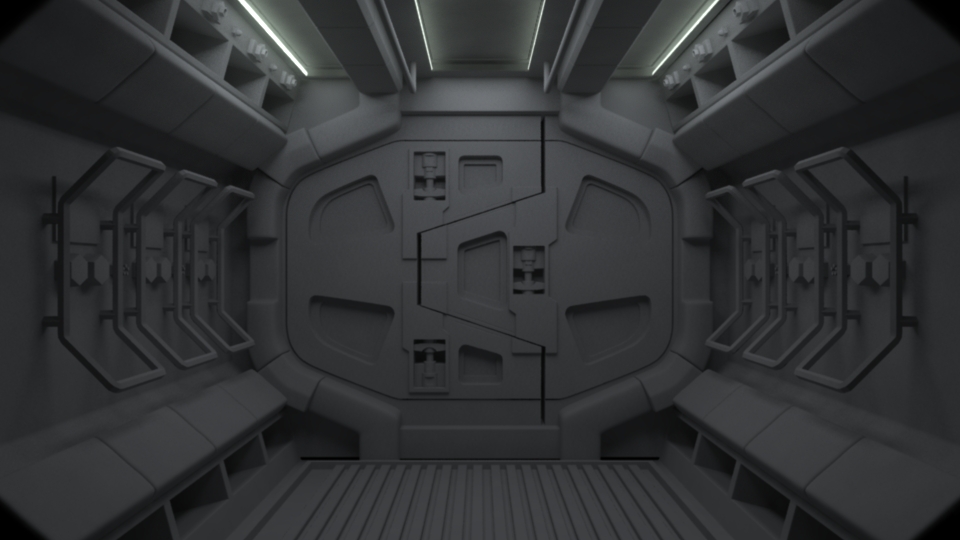
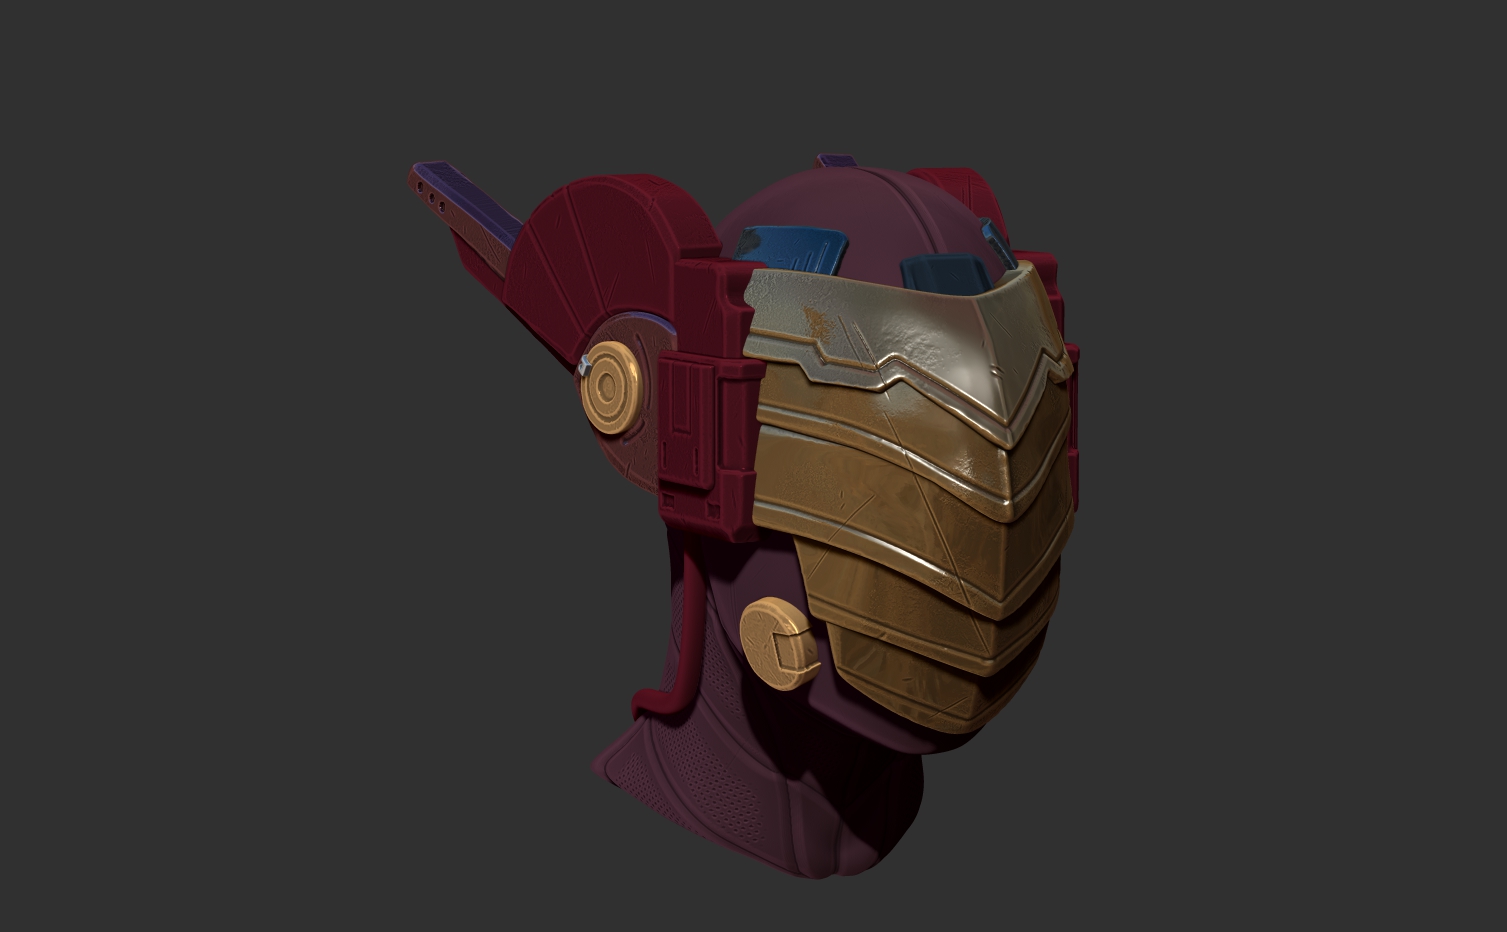
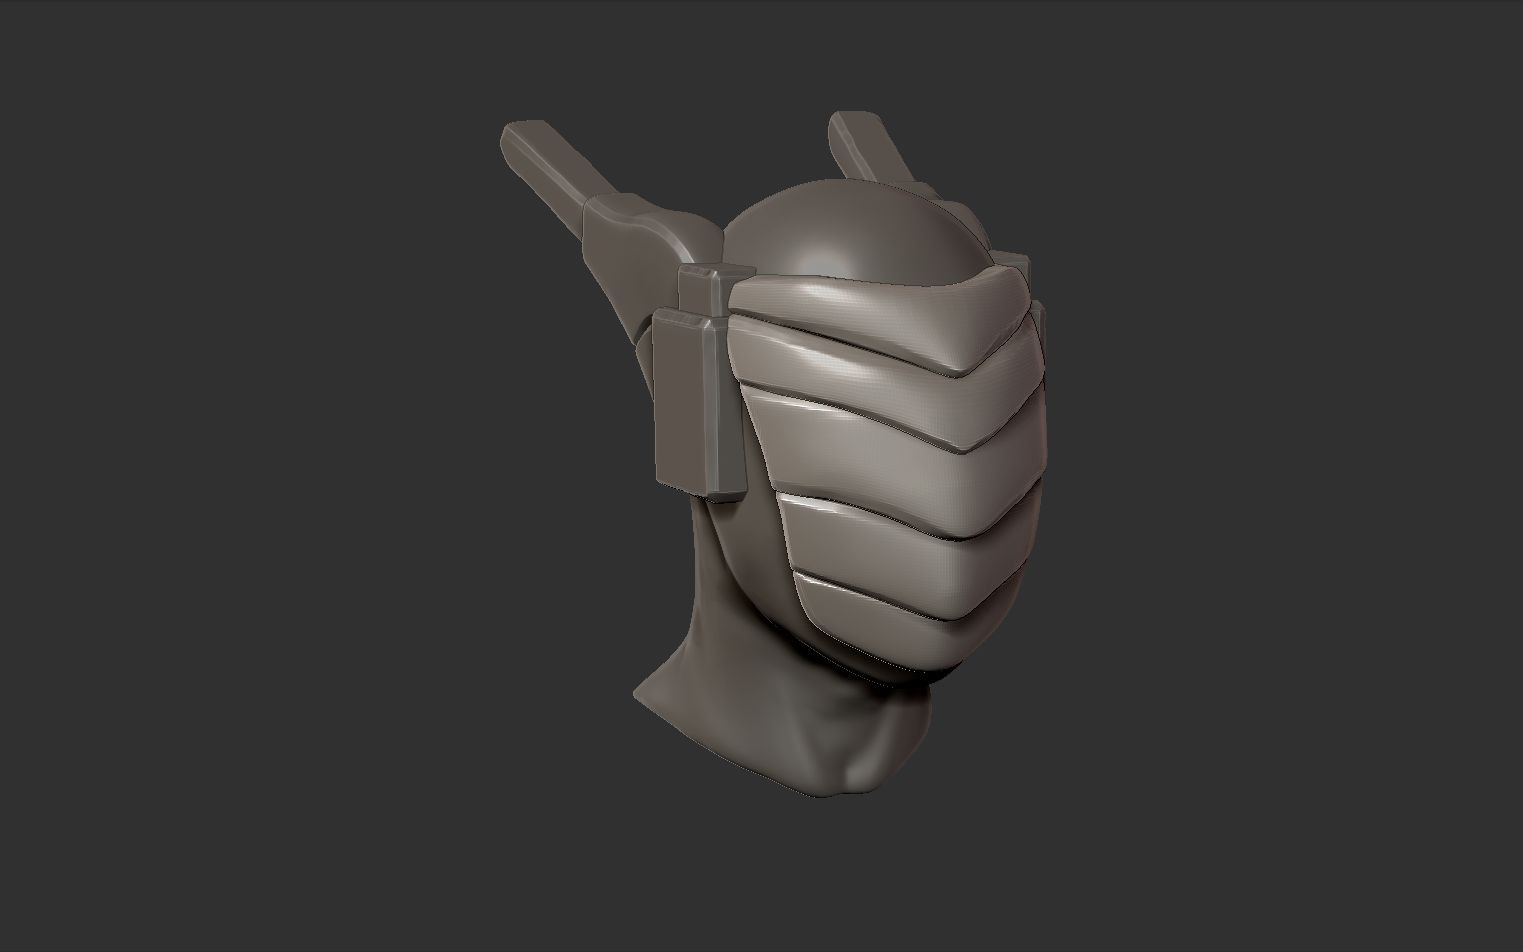
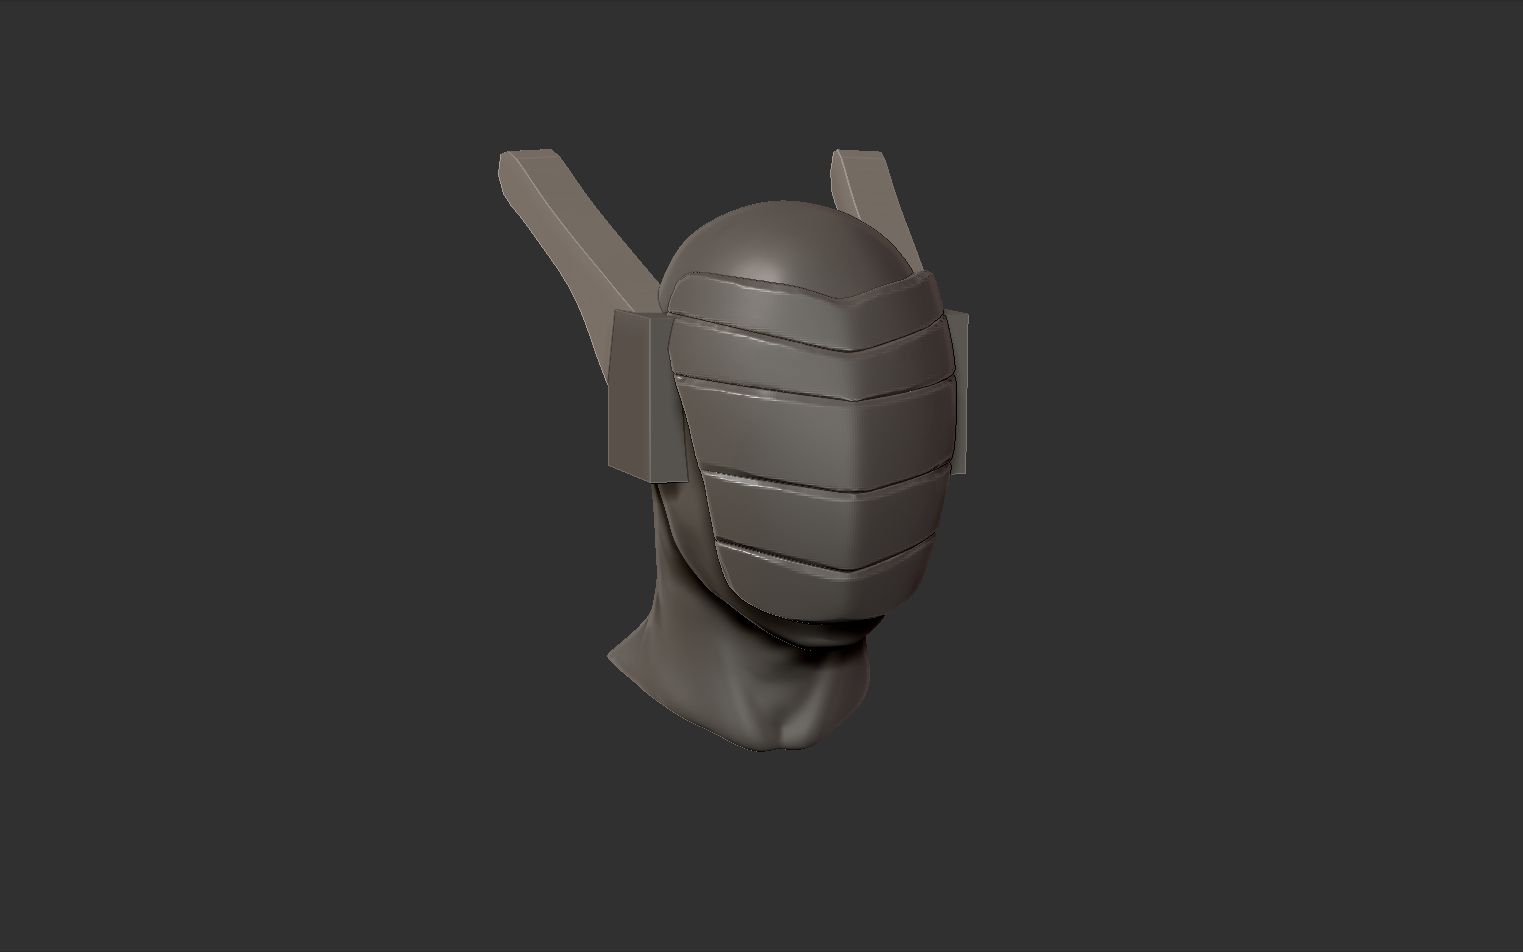
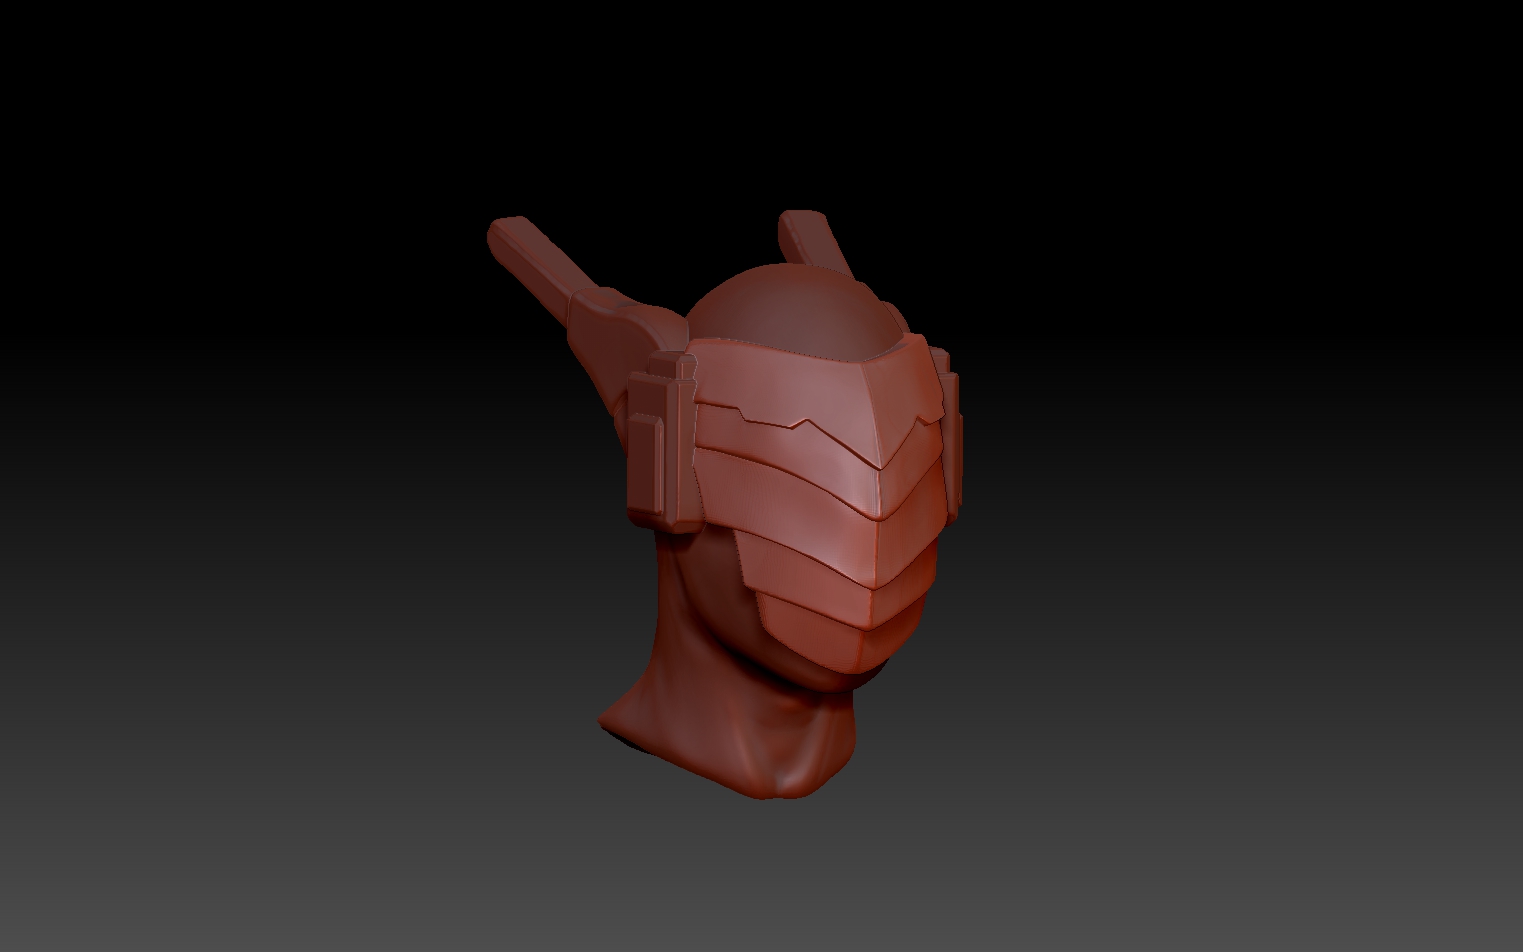
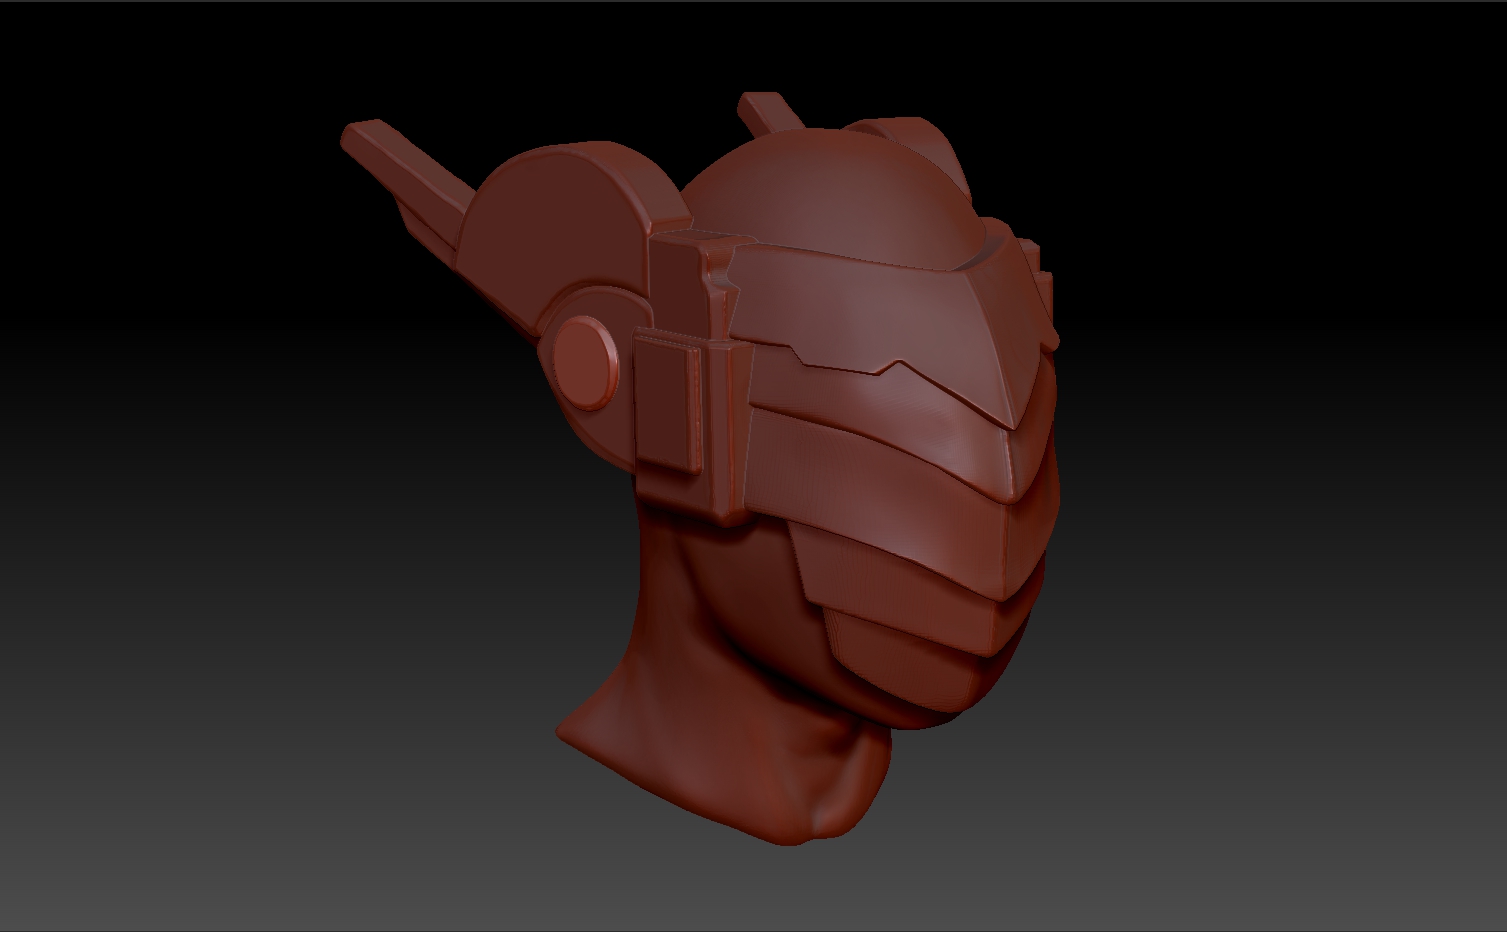
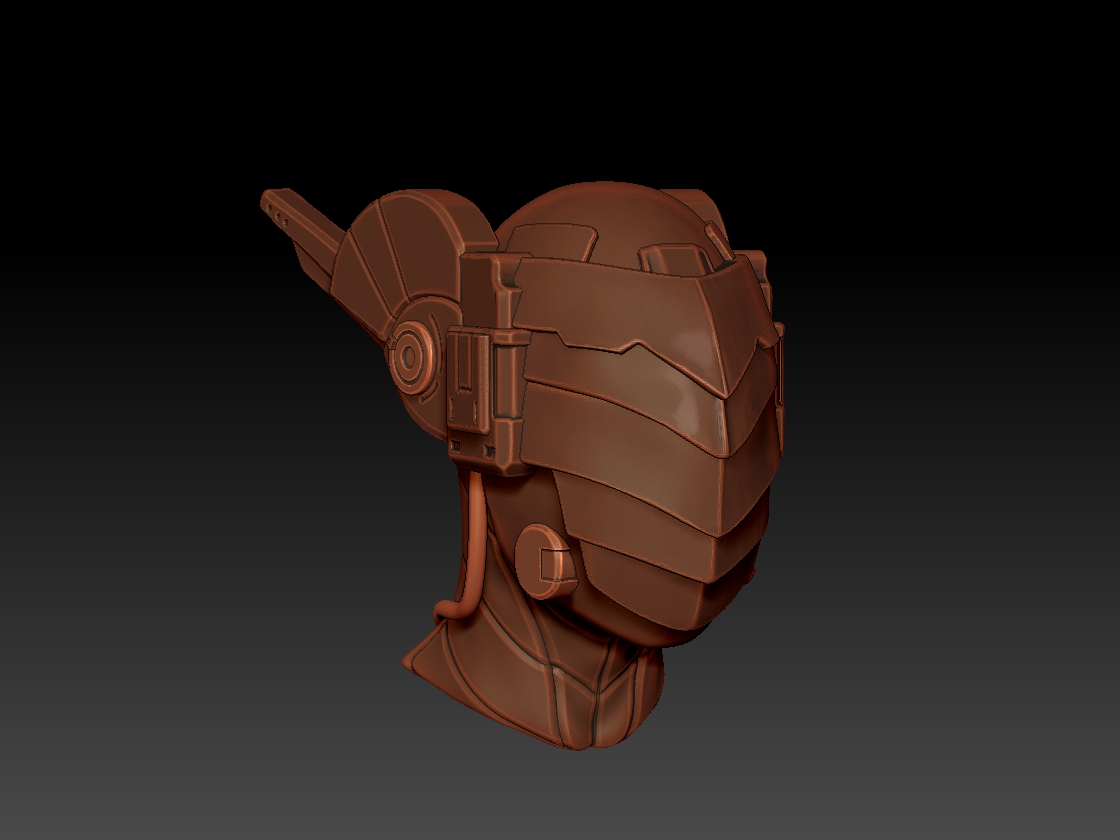
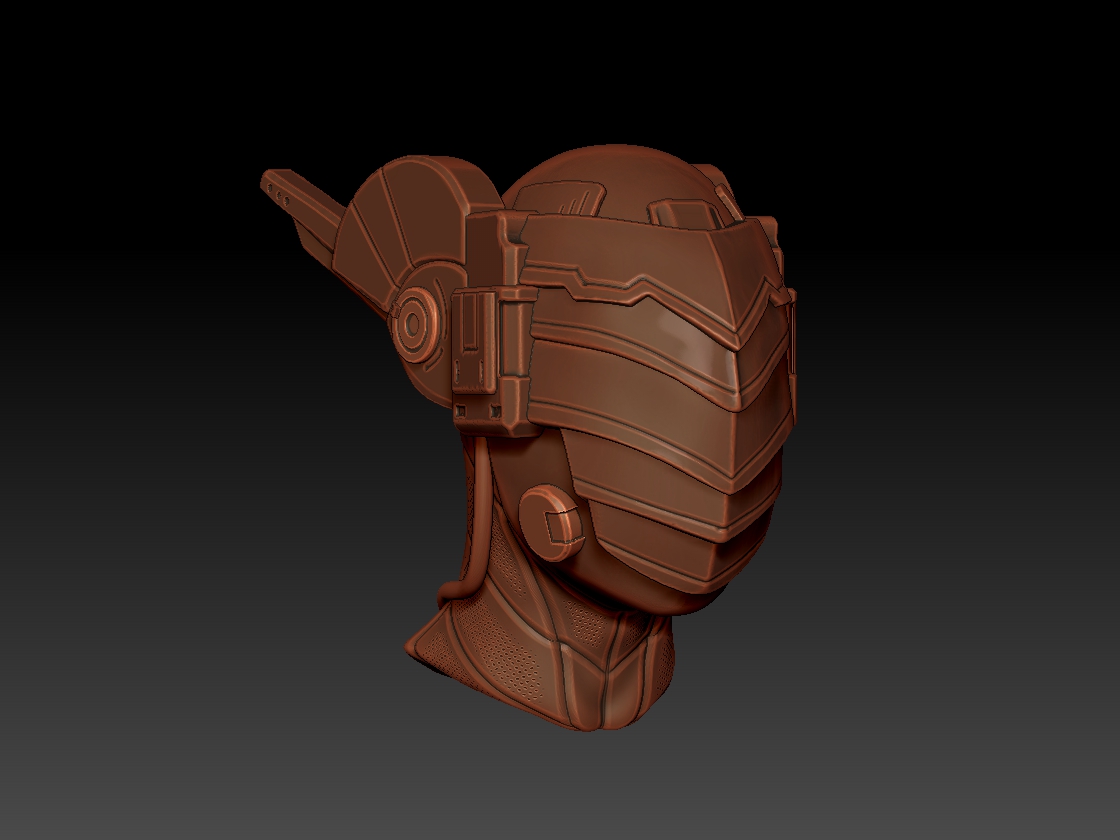
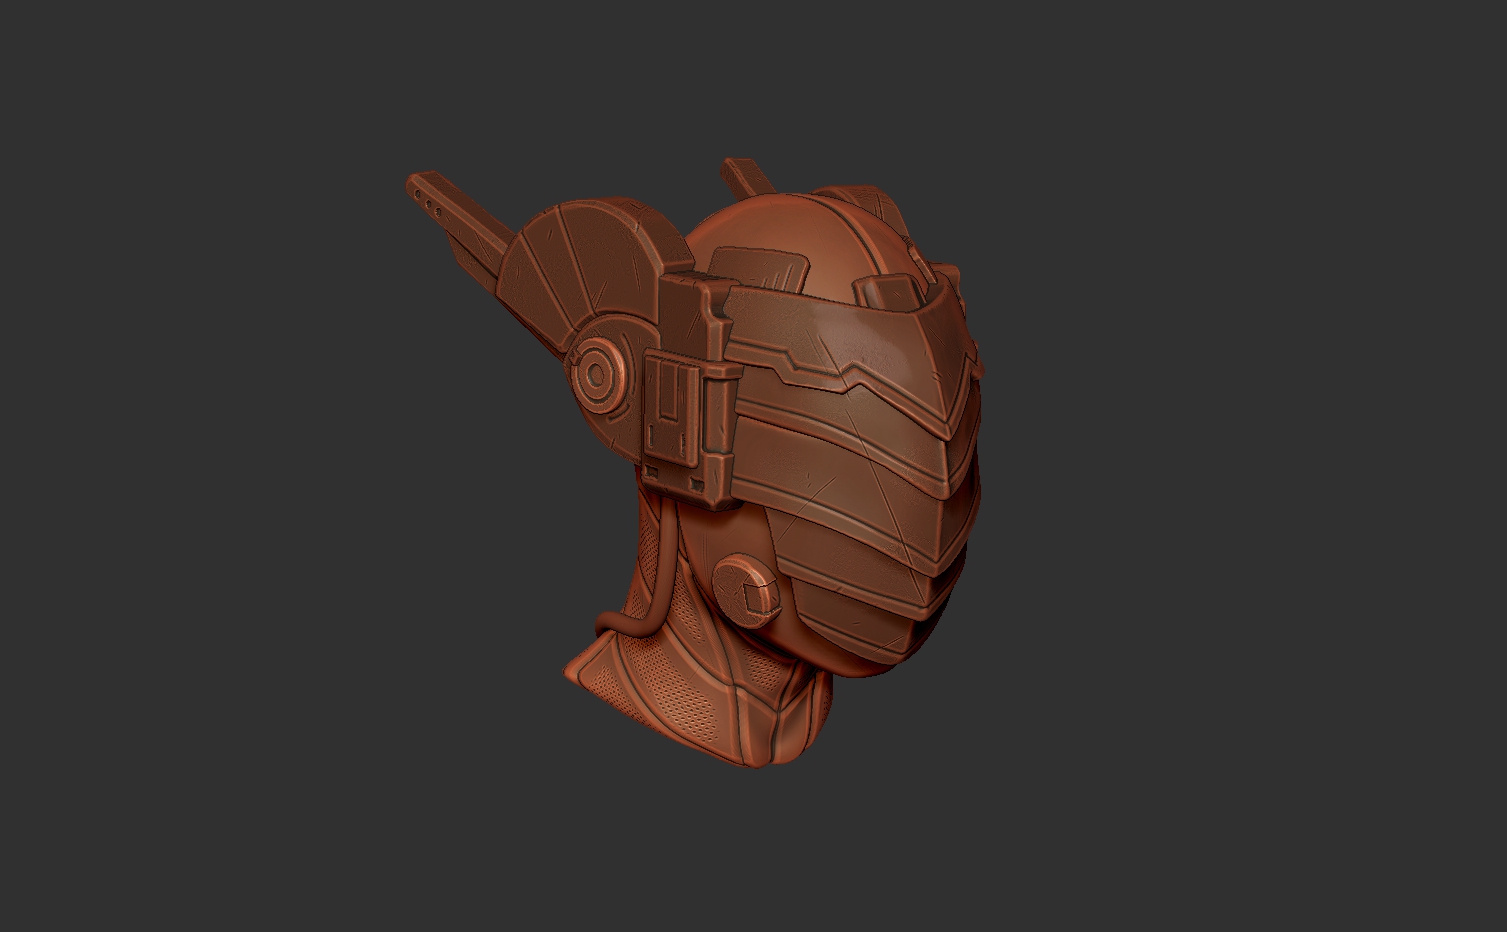
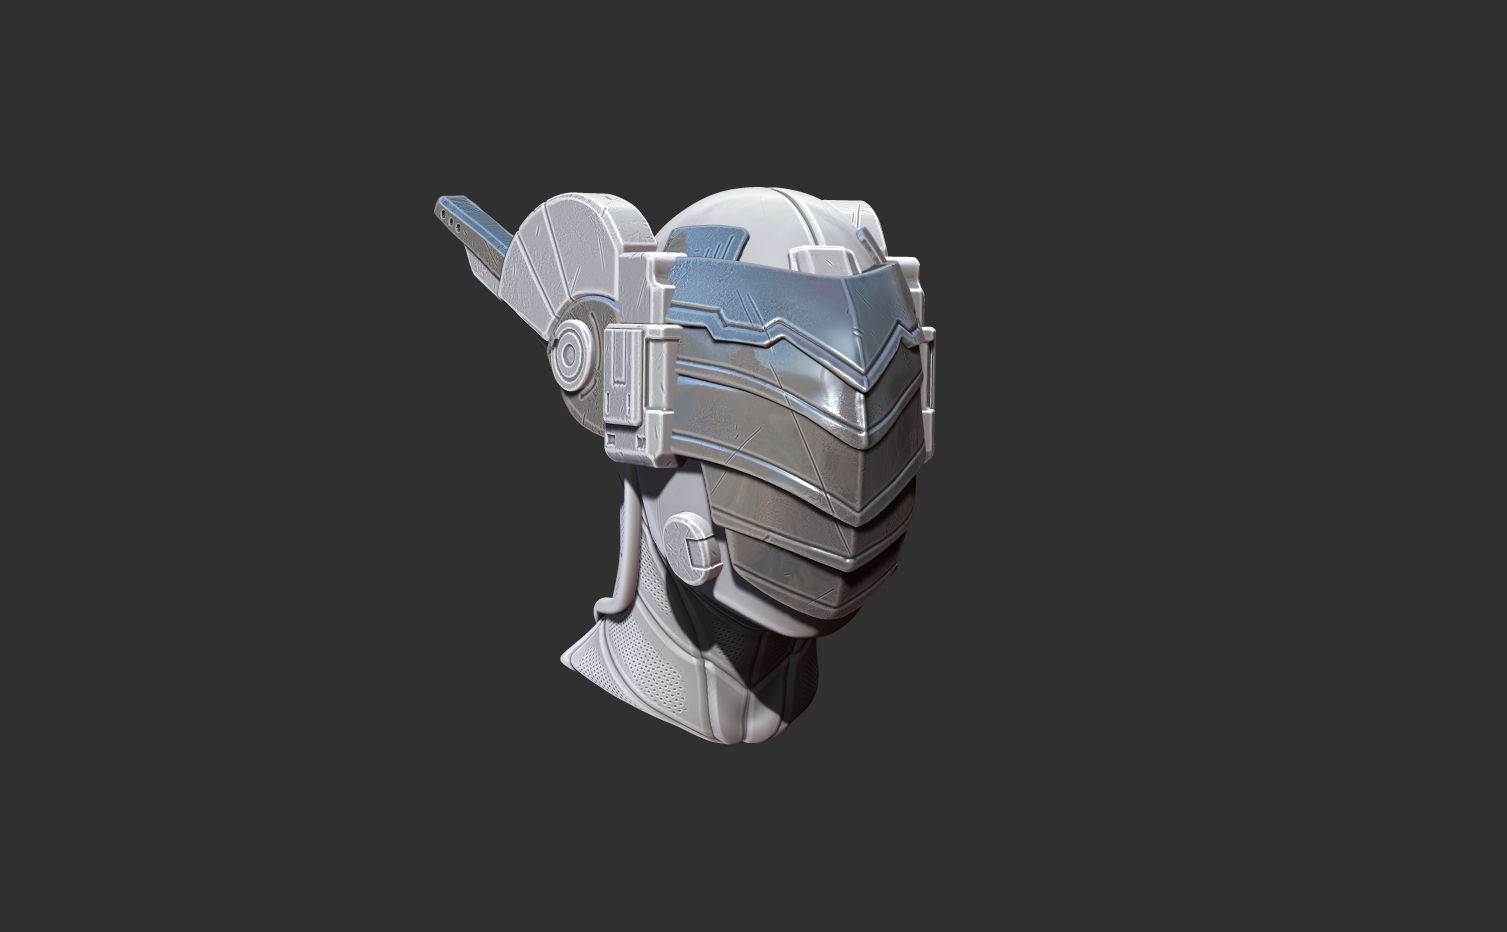
It's been ages since I last posted anything. Various reasons, but mainly I've been focused on learning more about Unity, C# and modeling the basics so really nothing interesting to show off. I've been working through the Hard Surface Modeling Challenges on PolyCount. This is fantastic practice because you're focused on creating some really gnarly shapes. On top of recreating these as Hi Poly models, I've been attempting to get more experience working through the game pipeline, so after I finish each of these models, I attempt to retopologise it, unwrap the uvs and then bake out the various maps. Up to this point it's been a bit of a disaster, but by week 5 of these challenges I feel like I'm getting there. Below you'll find an example. Let me know what you think. Hope the new year is treating you well. 

-Paul


Posted
AuthorPaul Capon

Yep...you read that right...its a stone well. Nothing special. Just thought I'd try making something a little more naturalistic in ZBrush. Modeled entirely in ZBrush, but rendered out in Maya using Mental Ray. Took a few pointers from Tate Mosesian's video series on Pixologic's site, http://pixologic.com/zclassroom/homeroom/lesson/environments-with-tate-mosesian/. Tate Mosesian is the Lead Environment Artist at Naughty Dog so he's got some chops. Anyway hope you enjoy.

All the best

Paul

Posted
AuthorPaul Capon

Hi Folks,

Sorted out most of the issues I was having with the UVs. Turns out the ribbon/swirl was causing all sorts of issues when generating a UV map in ZBrush. Had to push and pull a bit to get it working properly. 

Here is a final comp I put together after rendering it out in Maya using Mental Ray. Simple comp with an Ambient Occlusion, Depth and Beauty Render. 

For the most part I'm happy with how it turned out. I've definitely got some learning to do when it comes to Displacement Maps. Let me know what you think. 

-Paul

Posted
AuthorPaul Capon

Hi Folks,

Another day, another key from Locke and Key, the aforementioned awesome graphic novel series from writer extraordinaire Joe Hill. Here we have the Ghost Key. Still a work in progress. The sculpt is done, but I'm getting some wacky errors when I try to create a UV map and associated textures for the body of the key. Also...I'll be experimenting with displacement maps on this one so stay tuned for shenanigans. Initial test render is looking decent. 

-Paul

Posted
AuthorPaul Capon

Hi Folks,

Another key from the brilliant graphic novel Locke and Key for you today. Done mostly in ZBrush and then rendered out in Maya. I'm not sold on the materials...feel more plastic than metal to me, but I've spent enough time on this one for now. I'll move on to another one shortly. Let me know what you think.

-Paul


Posted
AuthorPaul Capon

Just finished up a new ZBrush sculpt. I've been trying to come up with little one off pieces that I can actually complete in a reasonable amount of time. This is the Echo Key from the amazing graphic novel series 'Locke and Key'. If you haven't read it...do yourself a favour and order every last issue. Its a great horror story written by Joe Hill, illustrated by Gabriel Rodriquez and published by IDW. 

Hope you like it.

-Paul


Posted
AuthorPaul Capon

Working on a new model these days. It's an Imperial Guard standard issue Lasgun from the Warhammer 40K Universe. Still a WIP, but it's coming along. The Dynamesh/Boolean tools in ZBrush never cease to amaze and come in incredibly handy on these hard surface models. As always let me know what you think. 

All the best.


Posted
AuthorPaul Capon

Hi Folks,

Working on a new piece inspired by my all time favourite film, 'Alien'.  Using a combination of polygonal modelling in Maya and various booleans in conjunction with ZBrush's new Dynamesh feature to build the doorway. Then roughed in a first pass of the lighting. Still need to apply some smoothing and tackle the floor grate, but its pretty much there. Hope you like it.


Posted
AuthorPaul Capon

I've been working through Seth Thompson's fantastic tutorial on how to use the new Panel Loops feature in ZBrush.  You can find the tutorial here: 

http://pixologic.com/zclassroom/homeroom/lesson/environments-with-seth-thompson/#environments-with-seth-thompson-part-2

Really learned a lot about how handy this feature can be.  Its shocking the amount of fine detail you can get in a relatively short period of time.  

Anyway...its not going to win any awards, but here's my version of Scott Thompson's lantern.

Posted
AuthorPaul Capon

Went and saw Disney's latest and really quite excellent film, Frozen, for the second time.  Thought I'd give rendering ice a try and here we have it.  Nothing special, but a good first effort.  It's an Architectural Material, using the Solid Glass Preset with a stone bump map applied to give it some roughness and an Index of Refraction of 1.31 (Ice's IOF).  

Posted
AuthorPaul Capon

Just a quick lighting and material pass on the microscope.  The black plastic isn't black enough and I don't know if the reflections aren't glossy enough or if the surface itself is too reflective at the moment.  

Clearly the metal looks wrong...very...very...wrong.  Too glossy and too stock Architectural Chrome which I used as a base to work from.  

Light is a Portal Light with a Mental Ray CIE plugged into the Color Multiplier Attribute.  This is a trick I picked up from the Mental Ray course I took through CG Society and its a great one.  Gives a really nice light and its a great way to control the colour and intensity of your light.


Posted
AuthorPaul Capon

Working with the Mental Ray Architectural Shaders in Maya to get a nice look before tackling the actual textures.  I might be doing this the wrong way around (Shaders before Textures) I'm not sure, but it feels like a good approach.  

As you can see...the lighting is starting to look pretty good, but very dark along the right hand side.  Will have to add in some more lights over there.  The next step is to finish up the texture maps, and push the Area Lights up into the Light Fixtures instead of just sitting on top of them.


Currently working on a small modelling project.  I've been following Roel Coucke's Sci-Fi Game Environments course on Digital Tutors.  I have already learned a bunch of great little tricks that will come in handy down the road...most of all the now completely obvious, but brilliant idea of using 'Guide' meshes.  Simple planes and shapes that you can snap vertices to when trying to get that exact angle or line things up just right.  Anyway...the following shots are from my Space Station corridor.  Currently a work in progress.  I've attached a wireframe shot, a real early rough pass at texturing and an early lighting pass.  


Posted
AuthorPaul Capon
2 CommentsPost a comment